How to Make a Website
A complete guide for beginners.
Looking to create a website but don't know how to start? This completely free website setup guide can help you get a website online in less than an hour - even if you're a complete beginner.
Setting Up Your WordPress Website
In this final step you'll learn how to install WordPress on your web host and set up your website.
Hosting check! Do you have your web hosting account and domain name all set up? If not, head to Bluehost.com now to get that set up so that you can follow the guide below.
Once you've got your hosting account and domain, the next step is to install WordPress. There are two ways to do this and one of them is much easier for beginners.
One-Click Setup
All well-established web hosts have WordPress available to install in one click - including Bluehost. This option is available from your control panel when you login to your web hosting account. The step-by-step process looks like this:
- Sign in to your hosting account
- Head to your main "control panel"
- Find and click the WordPress "W" logo
- Select your domain to install WordPress on
- Click "Install Now" and watch as your site is magically created for you!
Need help? Click the button below to watch a video showing exactly how to install WordPress from the Bluehost control panel.
Step-by-step WordPress installation guide
CloseManual Setup
In rare cases, you might choose a web hosting company that doesn't have a one-click installation for WordPress. In that case, you would need to download the WordPress software yourself, set up a web database and install all of the files yourself!
Avoid web hosts that do not offer a one-click installation of WordPress unless you have advanced skills and know what you are doing!
Changing the Design of Your WordPress Site
When WordPress has been installed, you'll have a basic, but very stylish design with the default theme, which is called Twenty Seventeen. This is what it looks like:
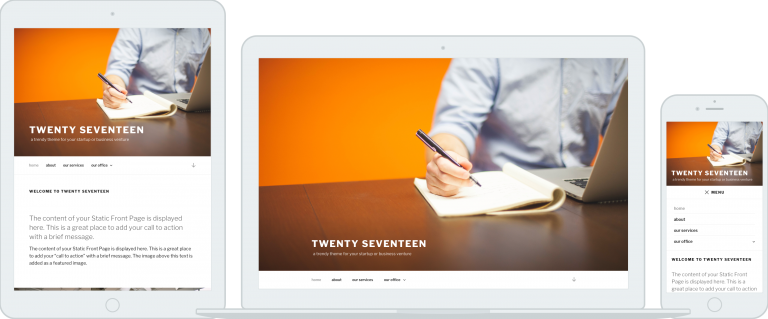
There are thousands of themes you can use for WordPress to make your site look amazing and you can customize each of them to make it even more unique!
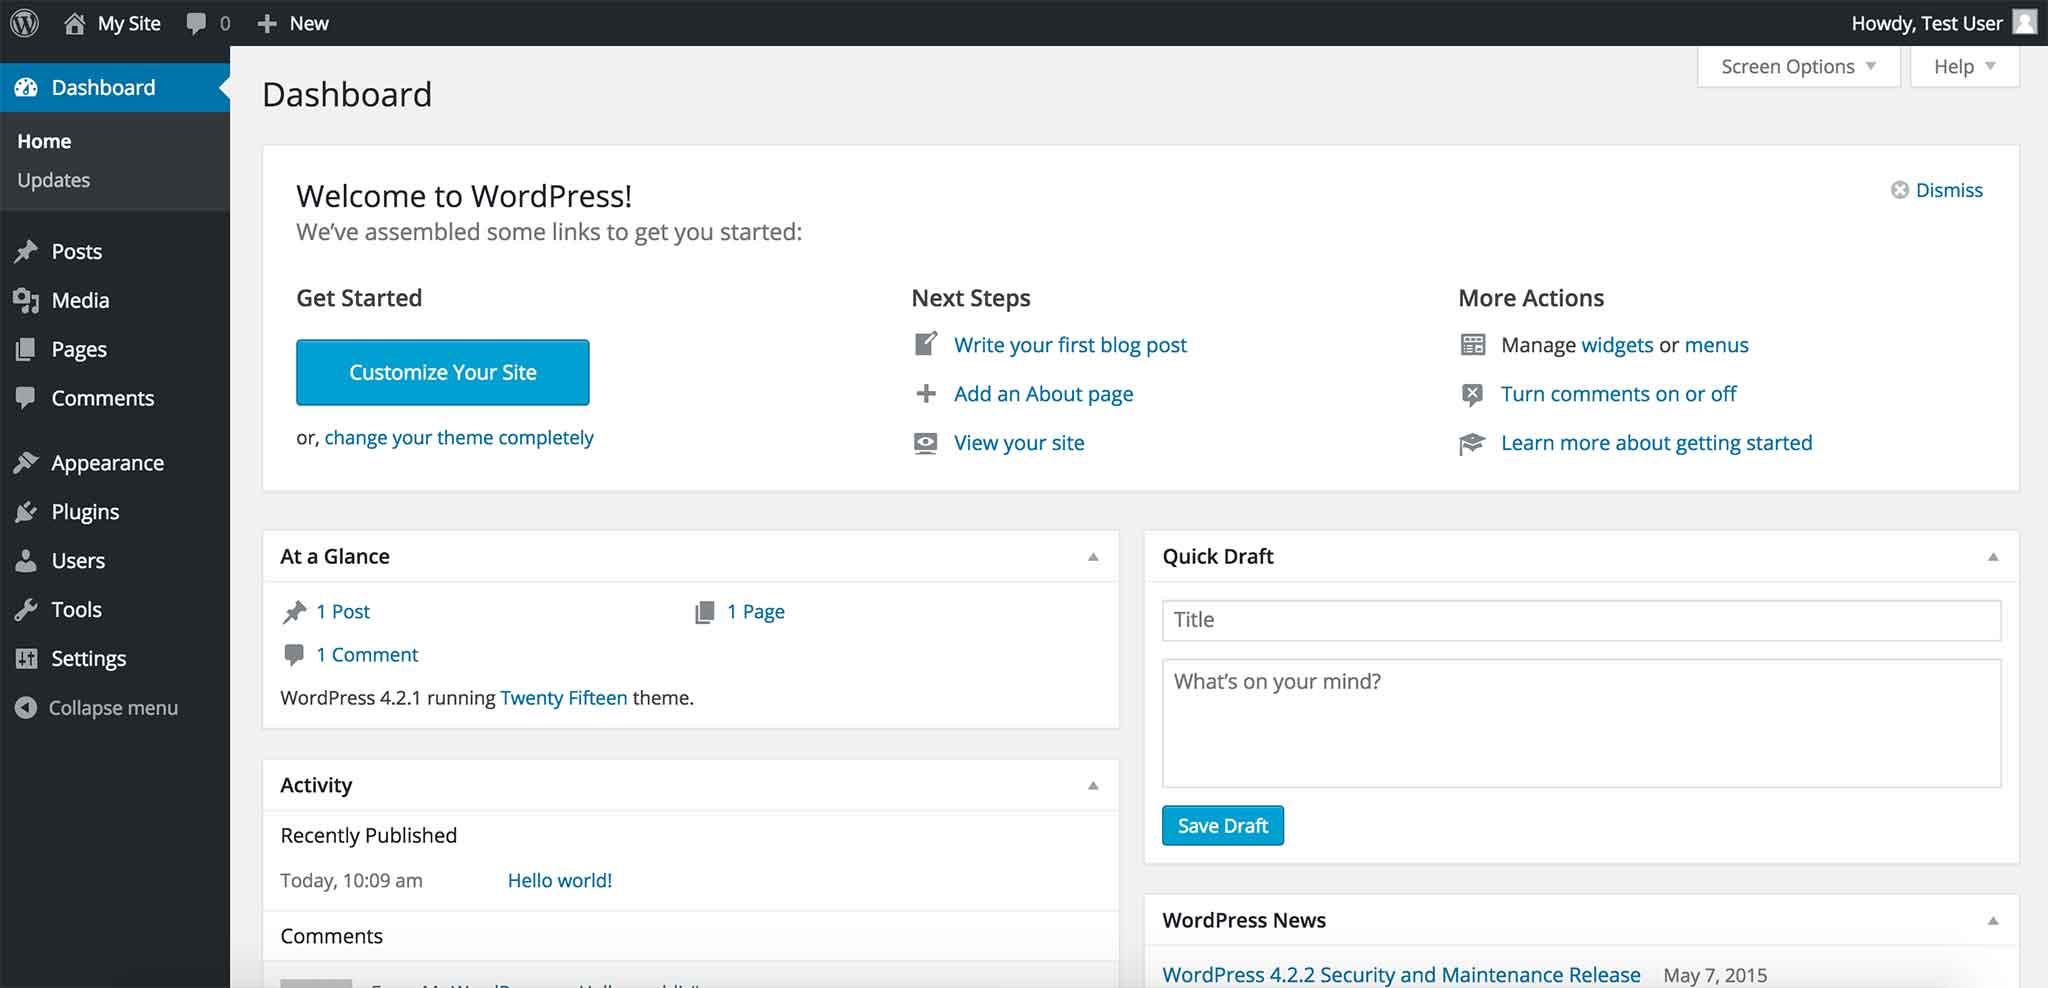
To get started, head to Appearance → Themes from your WordPress dashboard. The URL for that is http://yourdomain.com/wp-admin/ and it looks like this:
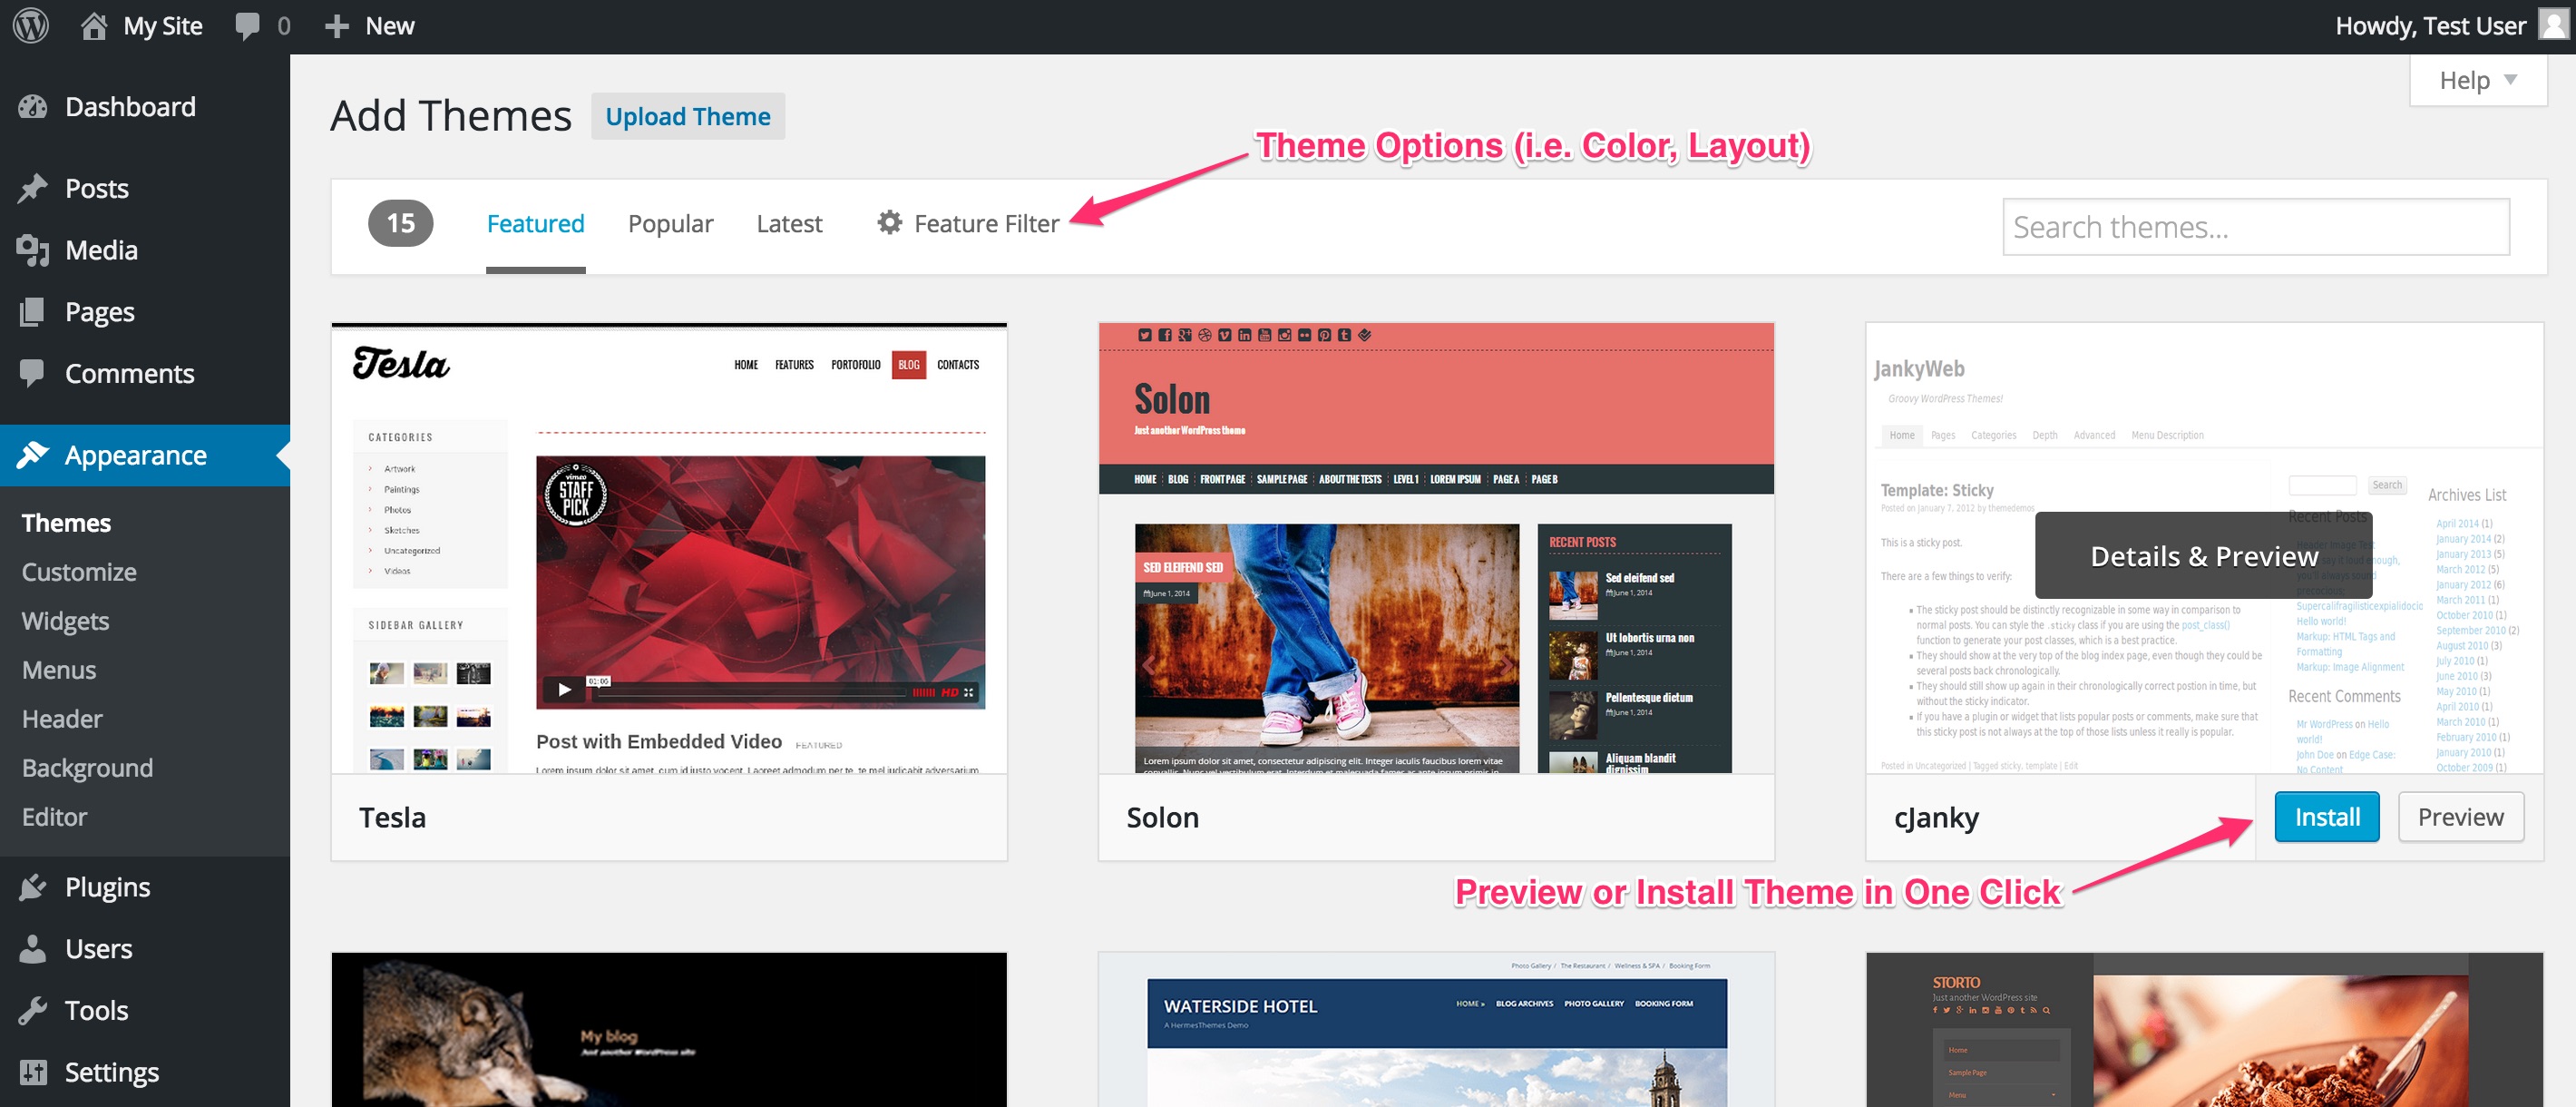
From the Themes page, click Add New Theme and you can search for themes based on features like the color, layout, and popularity and with such a large selection there are some great themes to choose from. In our follow-up series, we'll cover themes in more detail and show you which one we use for Site Beginner too.
Once you find a theme that you like, choose Preview to see how your site might look using that theme, or click Install to add it to your site, and then Activate to make it your theme.
Adding Content and Pages to Your Site
After you have a great theme installed and activated. You're ready to start adding content to your site. Below we will cover some of the basics for adding content, pages and menus to your site.
Click any of the buttons below to view the step-by-step setup for each of the options.
How to Add a Page to Your Site
Adding a page to your site is really easy with WordPress. Pages are most often used for static content like an About or a Contact page. If you can use a simple word processor like Microsoft Word, you'll have no trouble creating content in WordPress. Here's how you do it:
- From your Dashboard, go to Pages → Add New
- Choose a Page title and create your content in the text box
- Click the Publish button and your page will be live on your website
Need a visual guide? Take a look at the animation below to see exactly how a Page is created in WordPress.
How to Add a Blog Post to Your Site
If you want a blog for your website, you can add Posts to your site. These are sorted in date order showing the most recent first. The process is very similar to adding a Page, but Posts also let you choose a Category and add Tags so that you can group related posts together. Here's how to add a Post:
- From your Dashboard, go to Posts → Add New
- Choose a Post title and create your content in the text box
- Check a category for the post, or add a new category in the right sidebar under the Categories heading
- (Optional) Add Tags to your Post, separating each tag with a comma
- Click the Publish button and your post will be live on your website
Watch a Post being created! Take a look at the animation below to see exactly how a Post is created in WordPress.
How to Add a Menu to Your Site
Chances are you'll want a navigation menu that visitors can follow to find pages. Luckily almost all WordPress themes make this very easy. Here's how to add a menu to your website:
- From your Dashboard, go to Appearance → Menus
- Choose a Menu name and click Create Menu
- On the left, check the Page or Pages you want to add to the menu (you can also add Category links or your own Custom link
- Click Add to Menu
- On the right, you can drag and drop the menu items into the order you'd like
- Choose a menu location by checking a box under Theme locations
- Click Save Menu to publish your changes
Need help? Take a look at the animation below to see exactly how to create a navigation menu in WordPress.
How to Create a Static Front Page
By default, WordPress will show your blog posts on the front page. For some sites though, you might want to choose the content of your front page yourself and move your blog posts to another page. For this, you'll need to set a static front page, like this:
- From your Dashboard, go to Settings → Reading
- Under Front page displays, select the static page option
- For the Front page dropdown menu, choose the page that you want to show on the front page of your site
- Under the Posts page dropdown, choose the page you'd like to show your blog posts (a page called Blog or similar works well)
- Click Save Changes at the bottom of the page to publish the changes
Need help? The image below shows exactly how to set a static front page in WordPress.

Extra WordPress Setup Tips
Below are some frequently asked questions to customize your WordPress even further.
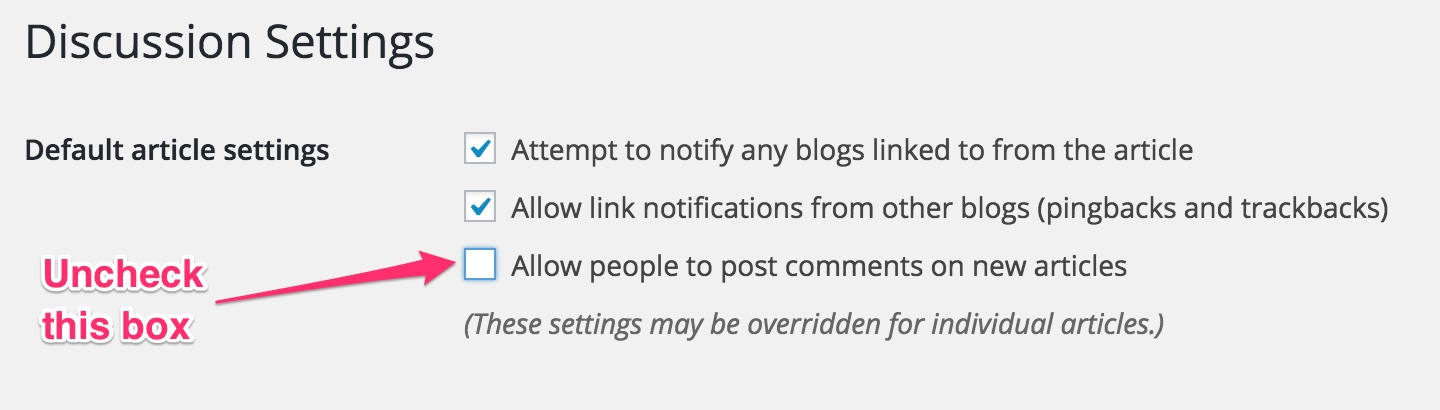
How Do I Remove Comments From Posts/Pages?
Sometimes you might not want to allow comments on pages or posts (if you have a business site for example). You can disable comments for all posts and pages by default by visiting Settings → Discussion and unchecking the Allow people to post comments on new articles box:
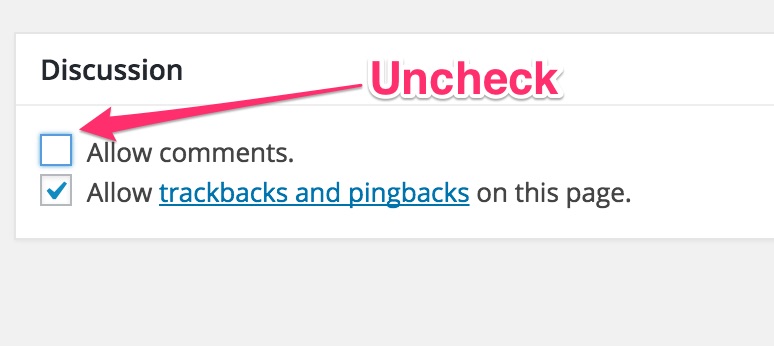
You can also disable comments on individual pages or posts by heading to Posts → All Posts and clicking the post you want to edit. Then you can uncheck the Allow comments box:
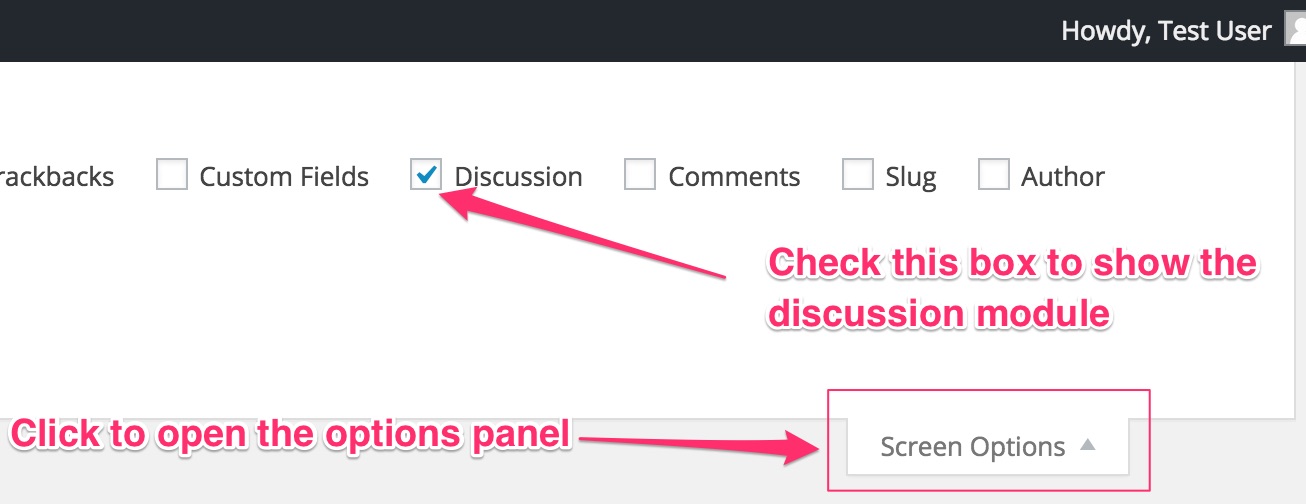
Note: you might need to enable the Discussion module on the edit screen by clicking Screen Options in the top right of your screen and checking Discussion:
How Can I Set The Site Title and Tagline?
The title of your site is shown at the top of the page and often this would be your business name, or your personal name if you're starting a blog.
You can also set a tagline, which is a quick description of what your site is all about. So if your site was about photography, your site title might be Spiffy Photos and your tagline could be Free HD photo downloads or similar. To see the site title and tagline, visit Settings → General:

What's a Sidebar and How Do I Add Content to It?
Most themes have a sidebar on either the right or left side which can be used to add content like a menu, links to popular pages or other content on your site you want to highlight. Here's what a sidebar looks like:

You can add content to your sidebar really easily by going to Appearance → Widgets from your Dashboard. Widgets are small pieces of content that you can drag and drop into your sidebar to easily customize your site. We'll cover widgets in more detail as part of our follow-up series.
Your Website is Now Ready to Launch!
After following each of the steps in this setup guide, you should have a really nice looking website. Well done! :)
Hopefully, you've found this guide to be very useful and easy to follow along with. Below, you'll find some options on what you can do next to continue your learning and improve your newly created website!
get the free follow-up email course